Preparing and editing images
Once you've downloaded the image to your computer, you should crop it to the correct size. You can use applications like Photoshop or GIMP to edit your image, or free web tools like Pixlr X photo editor.
Read our guide to resizing images in Pixlr.
Images for Person Profiles
Person Profile images must use 1:1 aspect ratio. This means they should be square – the width should be the same size as the height.
These images should be at least 500px wide, but please upload at the largest size you can.
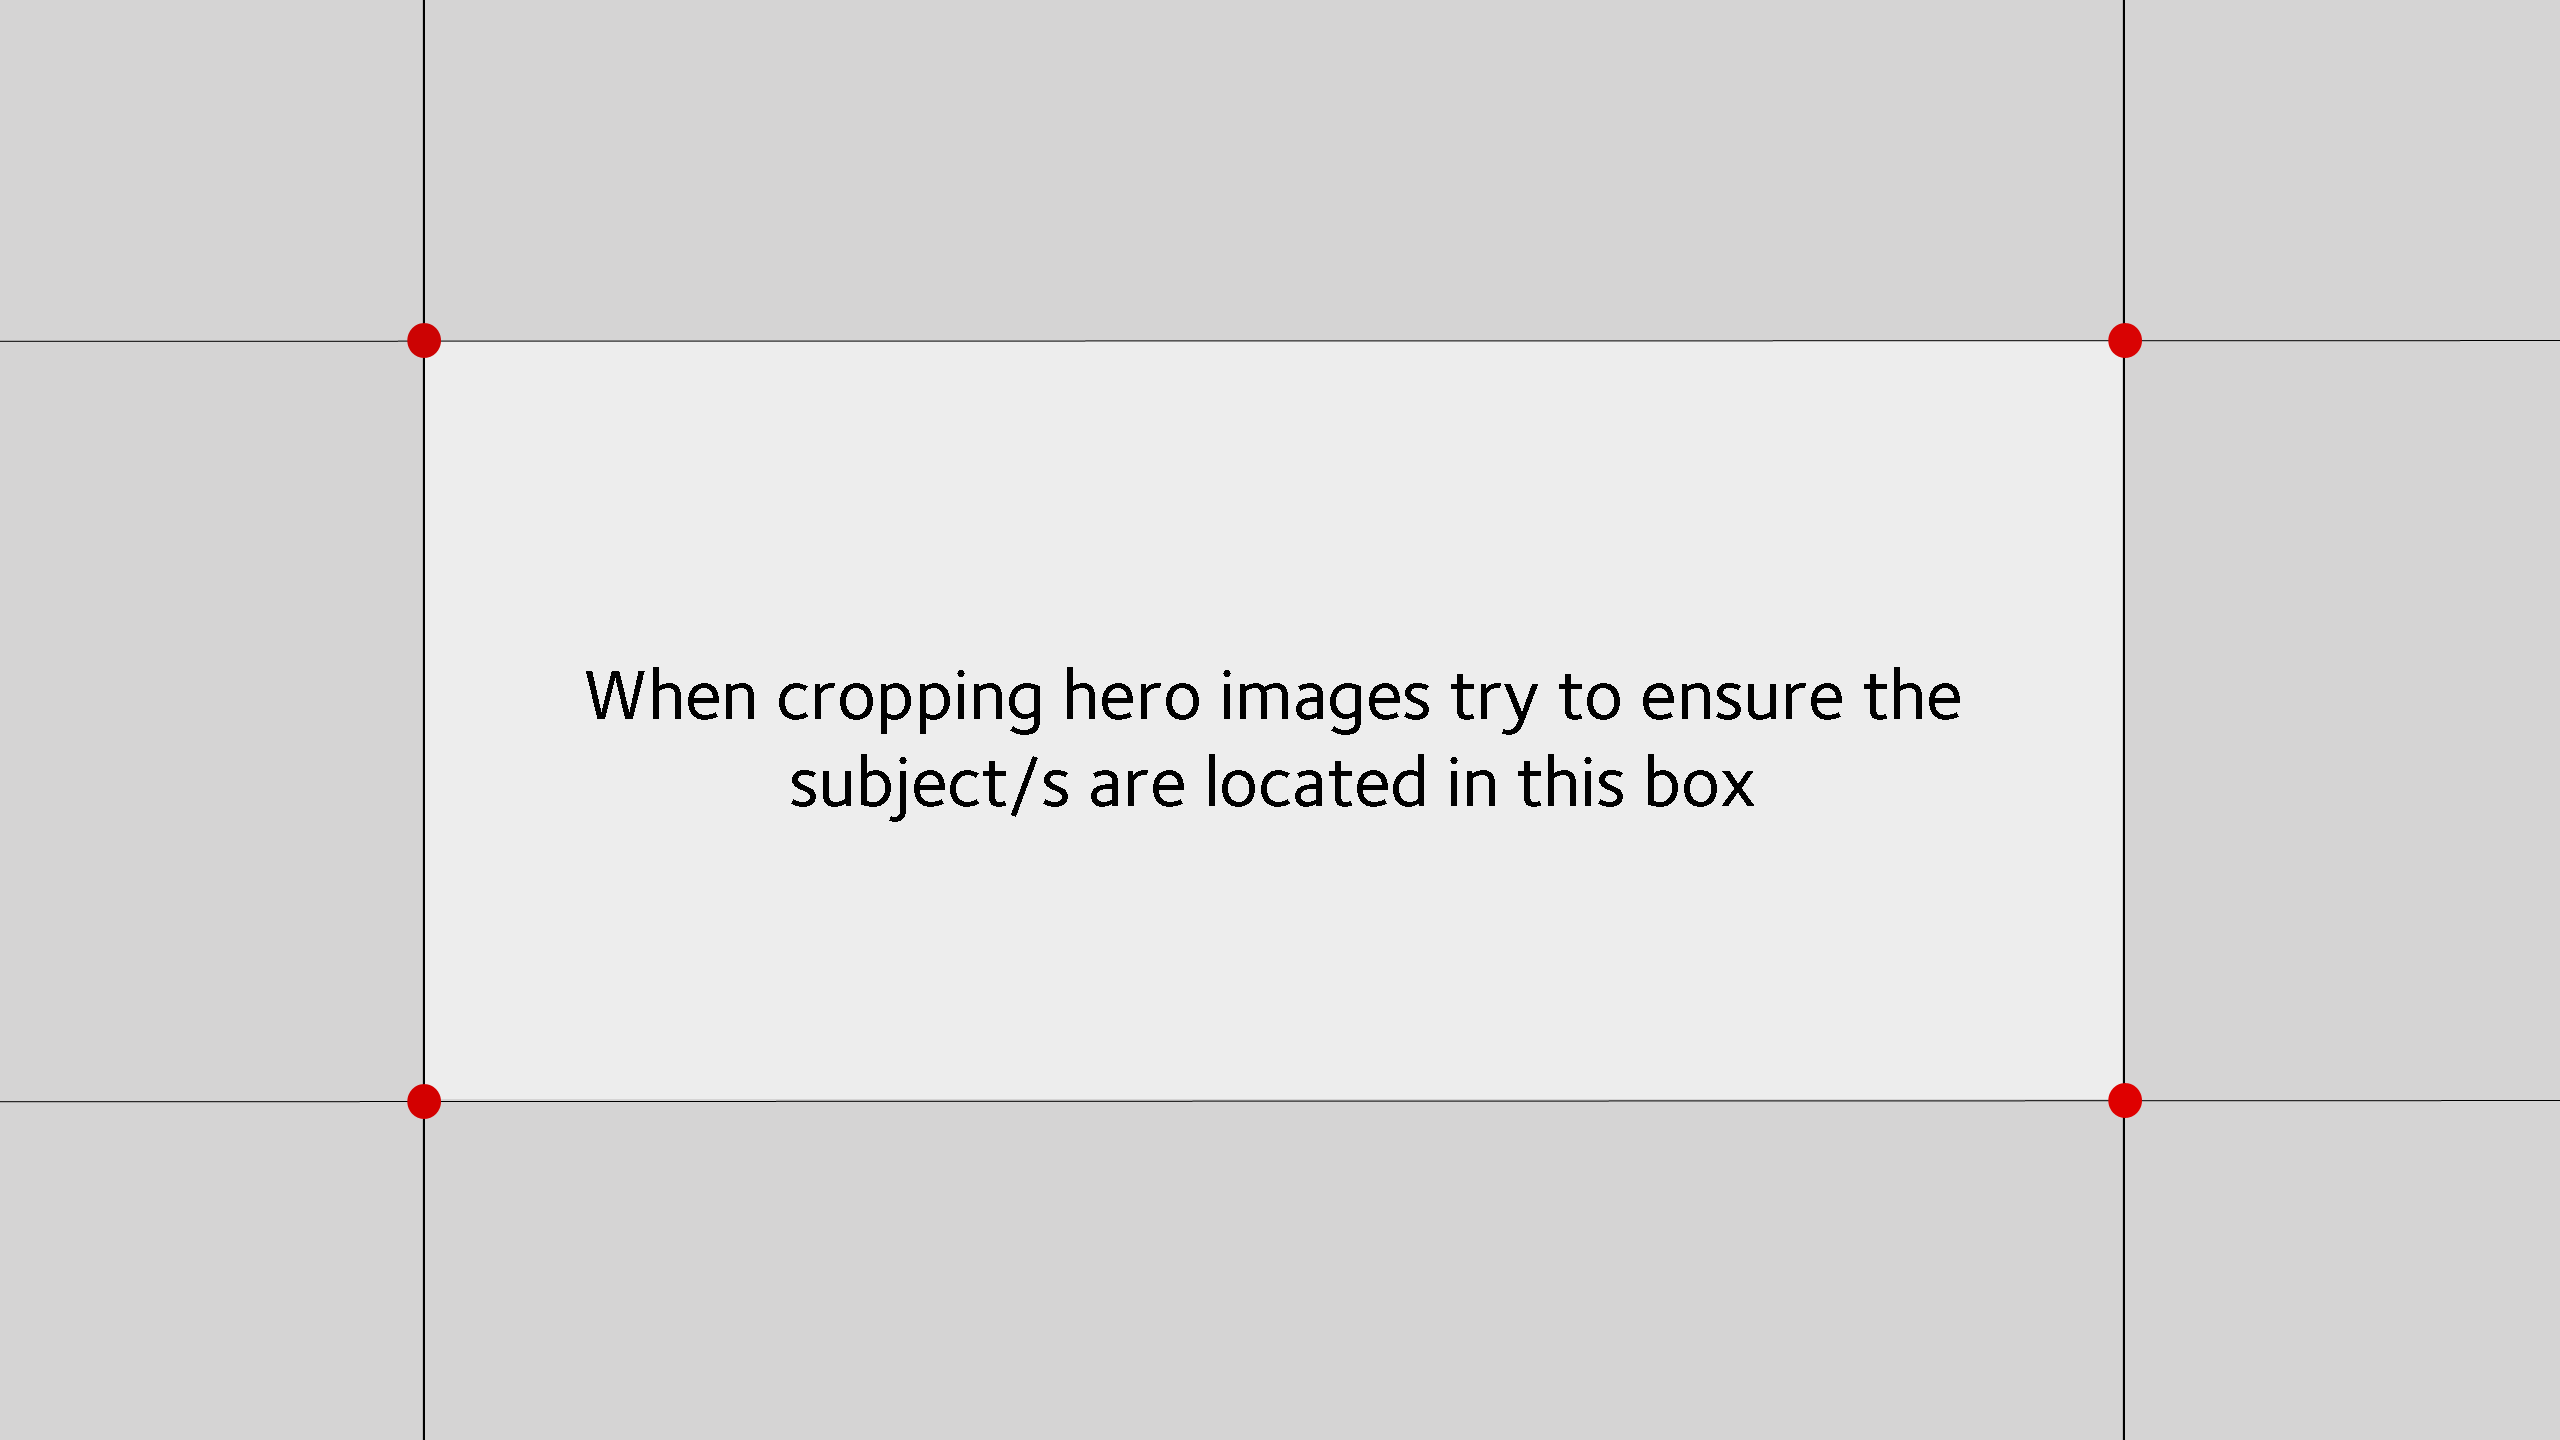
Hero images for subject and course pages
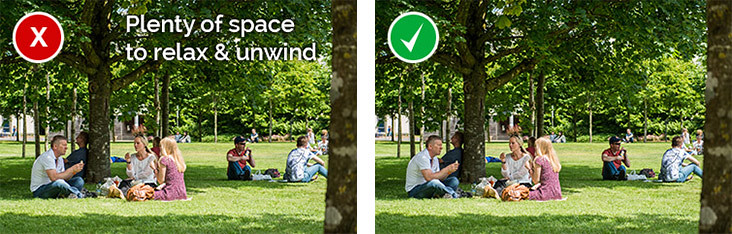
Subject and course pages have a large image across the top of the page. Depending on the size and shape of their screen, some users might not be able to see all areas of the original image.
Use the image cropping template to crop your image, making sure the subject of the image is framed by the central box. This will guarantee that users can see the important parts of the image on any screen size.
Images for all other Content Types
All other images on the website must use 16:9 aspect ratio. This includes images of people.

All these image sizes are the same ratio so any of these pixel dimensions are fine to use:
- 800px by 450px
- 1024px by 576px
- 1280px by 720px
- 2048px by 1152px
- 2560px by 1440px
Pixel dimensions should be no smaller than 800px by 450px and no larger than 2560px by 1440px.
Image file size
Images uploaded to the site should be no larger than 1mb as this will help us make sure page loading times are kept to a minimum.
Image resolution
Optimise images for use on the web at 72dpi (dots per inch).
Image formats
Only use specific image formats:
- JPEG – use for photographic images and for screenshots from video
- GIF/PNG – use for software screenshots, drawings, illustrations and any non-pictorial graphics
- SVG – use for icons, logos, maps and anything that could or should be scalable
Processing your image
Don't apply effects, overlays, gradients, borders or filters that make the image appear manipulated.
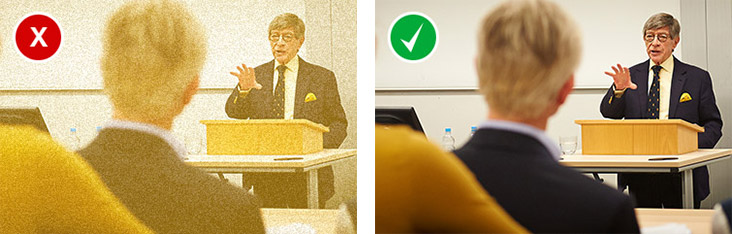
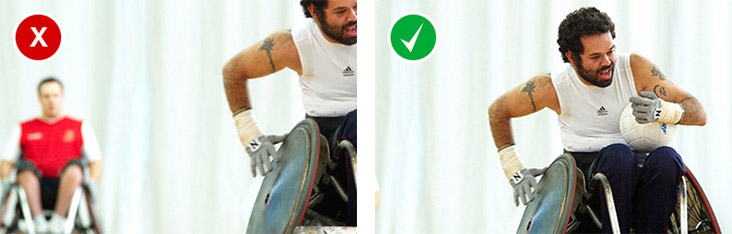
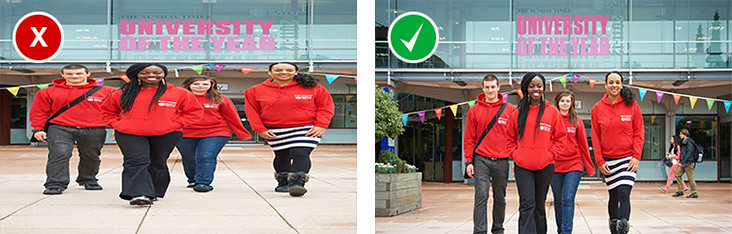
Crop the image to highlight the relevant subject.
Never stretch an image to fit the page as this will distort the image.
Avoid blurred or pixellated images. Resizing an image, especially to make it bigger, can make it blurred or pixellated.

Don't add text over images. Text embedded in an image is inaccessible to users browsing with assistive technologies like screen readers.
Naming your image
Give your image a meaningful file name when you save it to your computer. For example, 'university-campus-in-winter.jpg' is a good file name for a snowy shot of the campus as it describes the important elements in the image.
Always try to avoid meaningless file names like 'IMG00023.JPG'.